Agentic Coding with Kimi Code CLI: A Guide to Completing Projects from the Terminal
Originally published in Turkish. Read the original →
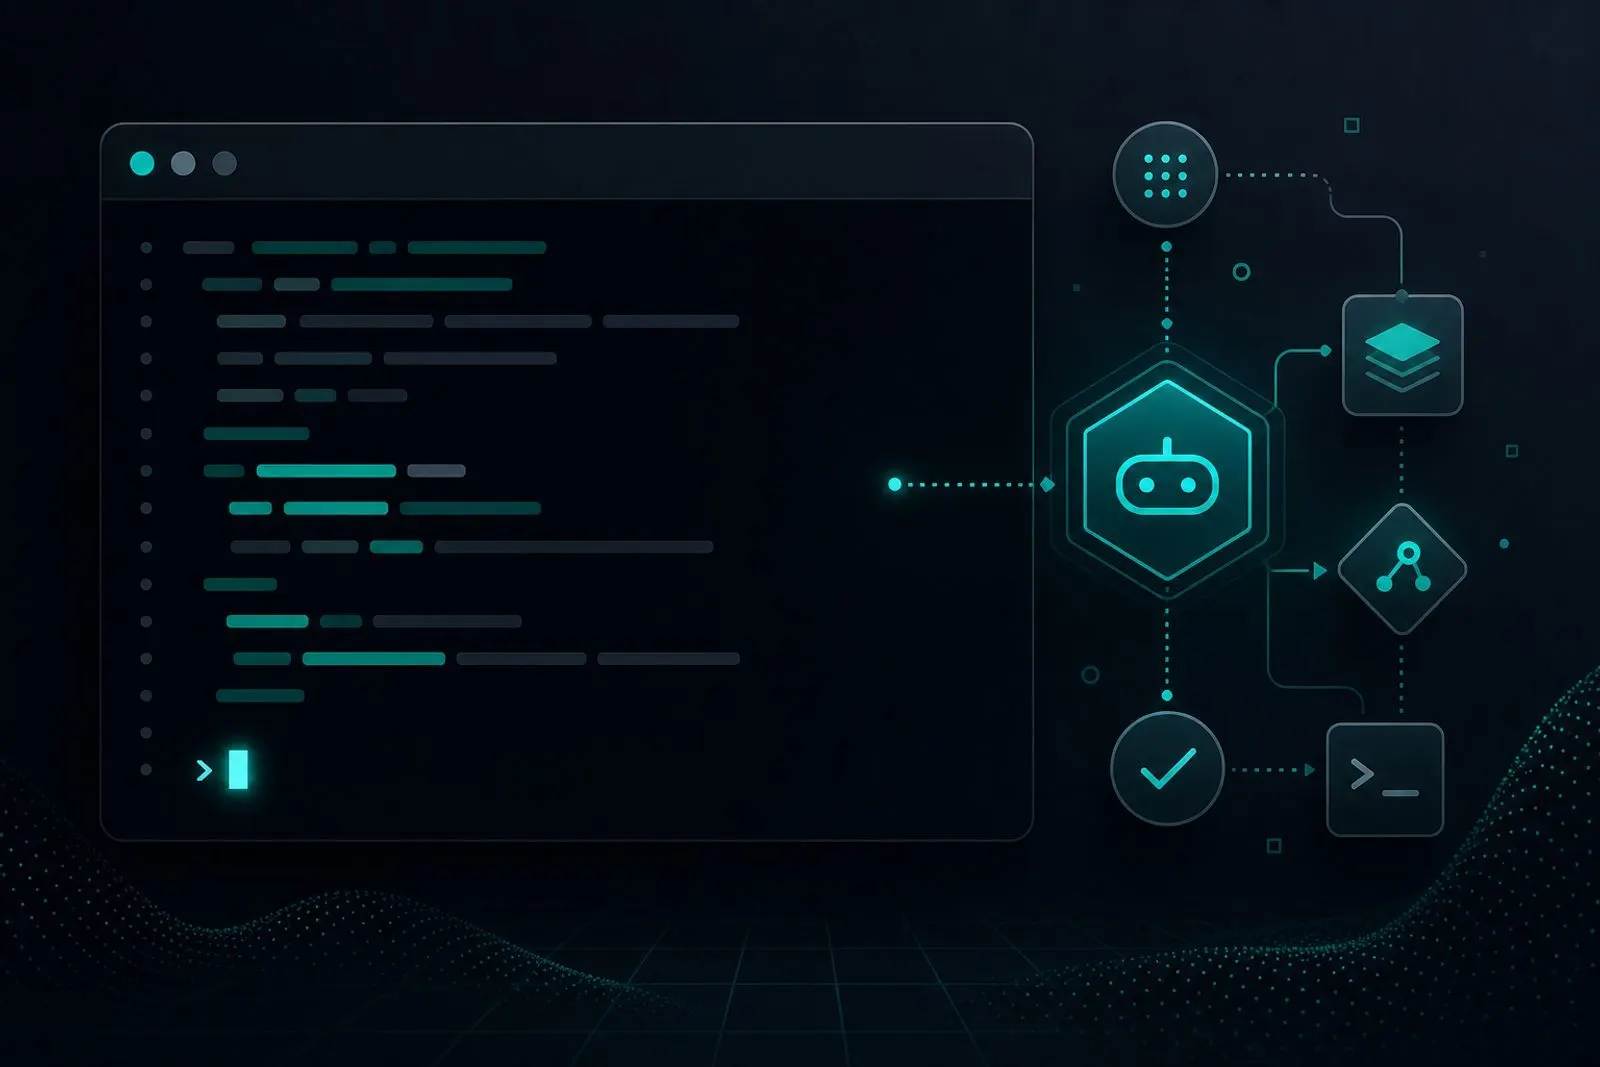
Setting up an agentic coding flow in the terminal with Kimi Code CLI: defining tasks, the verification loop and tips for safe use.
IDE chat is not enough for every job. For many developers, real speed is born in the terminal: running tests, reading diffs, building packages. Kimi Code CLI turns this environment into a hub for agentic coding; that is, it lets the agent move forward through a loop of files and commands rather than just suggestions.
What Does Agentic Coding Mean in a CLI?
Agentic coding is the model repeating this loop:
1. Understand the goal 2. Read the necessary files 3. Plan and apply the change 4. Verify with tests/lint 5. Fix based on the result
The CLI makes this loop natural because build and test output already lives in the terminal. Instead of guessing "did it work?", the agent can measure it.
A Solid Starting Flow
In the first sessions, give narrow goals instead of broad "fix the whole project" requests:
- "Fix the type errors in the
authpackage so thatpnpm typecheckis green." - "Add the missing validation only under
src/api/users, don't break the existing tests." - "Find the root cause from this error's stack trace and suggest a minimal patch."
Keeping the scope narrow both lowers token costs and makes review easier.
Make the Agent Speak Your Project's Rules
CLI agents benefit greatly from short rule files at the project root. Example expectations:
- Language and package manager (e.g. TypeScript + pnpm)
- Test command and coverage threshold
- Off-limits areas (
migrations/, production secret files) - Code style (formatter, import order, error classes)
Without these rules, the agent may produce solutions that are "generally right" but "wrong in your repo."
Security and Control
A terminal agent is powerful; that is why limits are a must:
- In the first days, prefer suggest-only / approved-write mode
- Enable network access and package installation deliberately; don't leave them open in every session
- Explicitly exclude file paths that contain secrets
- Require human approval for commands like large deletions or force pushes
Opening all permissions "so it gets done quickly" yields a gain in the short term and risk in the long term.
A Typical Session Scenario
Consider a concrete example: a type error that breaks CI. Give the CLI agent the stack trace and the relevant package and ask for a "minimal patch + typecheck." The agent reads the file, fixes it, runs the command and, if it's red, moves on to a second round. You only review the plan and the final diff.
In this scenario, the speed gain comes not from you writing the code but from the agent taking on context gathering, trial and error and the command loop. Human input stays with architectural decisions and risky edges.
Rolling It Out Across the Team
Instead of opening the CLI agent to everyone on the same day, calibrate it for a week with one "champion" developer. Once shared command templates, an approval policy and postmortems of failed sessions are in place, rolling it out creates less chaos. Agentic coding is not a tool installation; it is a team working agreement. Keep successful templates in the repo as short examples so that a newly joined developer can answer "how do I write a prompt for which task?" on day one.
Conclusion
Agentic coding with Kimi Code CLI turns the terminal from a chat window into an execution environment. The best results come from a clear goal, a mandatory verification step and controlled permissions. Start with a small package or a single failing test, and calibrate the agent's plan → apply → verify loop to your own repo. Expanding the scope afterwards becomes much safer.