Setting Up an OpenAI-Compatible Coding Agent With the Kimi API (Node.js / Python)
Originally published in Turkish. Read the original →
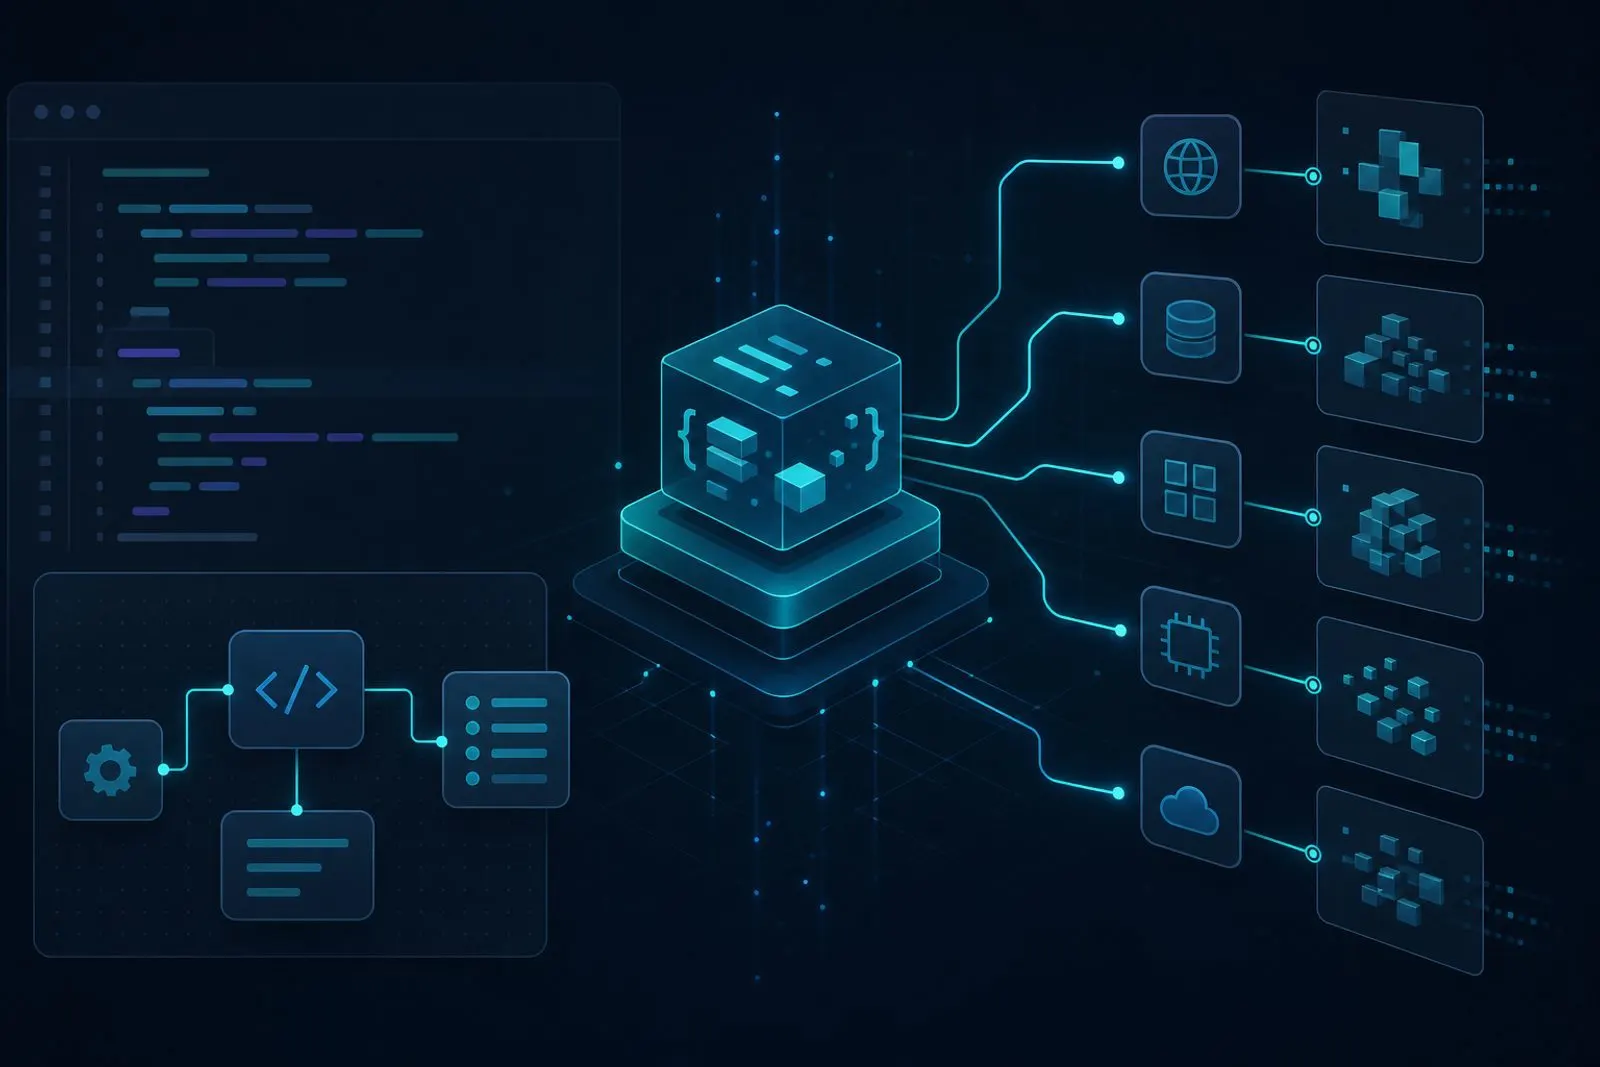
Steps for building a coding agent in Node.js and Python by using the Kimi API with OpenAI-compatible clients, plus MCP context and security notes.
Many coding agents already talk using the OpenAI SDK pattern. The Kimi API's OpenAI-compatible interface lets you switch models without rewriting your existing toolchain. In this post, I summarize the minimal setup logic on the Node.js and Python side and secure agent design.
The Basic Idea: Base URL + Model Name
In OpenAI-compatible clients, three things usually change:
- The API key (on the Kimi / Moonshot side)
baseURL(the Kimi endpoint)- The
modelfield (e.g. a coding-focused Kimi model)
Your chat and tool-calling flow stays the same. This is a significant cost advantage for LangChain-like wrappers or your own agent loop: what changes is the model choice, not the integration layer.
Node.js Skeleton
A typical flow is set up like this:
1. Install the official OpenAI client
2. Create the client with the Kimi baseURL and API key
3. Define tools in the coding agent loop (read file, run tests, propose patch)
4. Process the tool calls in the model's response with a secure executor
The critical point: the tool executor must not blindly run every command coming from the model. An allowlist, a working directory boundary and an approval gate are essential.
Python Skeleton
The same pattern applies in Python:
1. The OpenAI Python SDK 2. Kimi-compatible client configuration 3. Agent loop: plan → tool → observation → repeat 4. Enforcing the output in a structured format (e.g. a JSON patch summary)
A common choice on the Python side is running the test run via subprocess with a limited timeout. Agents that get stuck in infinite loops wear out both your budget and your machine.
Extending Context With MCP
The Model Context Protocol (MCP) gives a coding agent additional context in a standard way: repo tools, issue systems, internal documentation search. When using Kimi through the OpenAI-compatible layer, connecting MCP servers to the agent's tool layer is more scalable than the "paste everything into the model's prompt" approach.
Practical advice: start with read-only MCP tools first (list files, fetch docs). Open up write and command execution permissions in a second phase.
Security Checklist
- Keep keys in environment variables; never write them into the repo
- Keep the production database and secret files outside the tool scope
- Keep network access off by default
- Set a max turns / max tokens limit for every session
- Don't merge a generated patch without running it through CI
OpenAI compatibility speeds you up; it doesn't remove the security responsibility.
Error Handling and Retries
The biggest friction point in the compatibility layer is tool call errors and partial responses. In your agent loop, return each tool result to the model not as a raw string but as a structured observation: success/failure, short output, and a truncated log if needed. Instead of retrying the same error forever, define a max retry count and a "human needed" state.
Handle rate limit and timeout scenarios from the start as well. If a coding agent doesn't save intermediate summaries on long runs, the cost of an interrupted session doubles.
When to Use the SDK Directly and When to Use a Framework?
For small teams, a plain OpenAI-compatible client + your own loop is enough. If you are managing multiple models, memory and MCP servers, a LangChain-like layer or an internal framework can save time. What matters is that the abstraction doesn't hide the tool security boundaries. No matter how "magical" the framework is, the gates for writing files and running commands must stay under your control.
Conclusion
Setting up an OpenAI-compatible coding agent with the Kimi API gives you model flexibility while preserving your existing SDK and agent loops. Whether it's Node.js or Python, the formula for success is the same: correct endpoint configuration, narrowly scoped tools, controlled context via MCP and mandatory verification. First get the end-to-end flow green on a single repo task; then widen the permission surface deliberately.